Disconnect your Lift
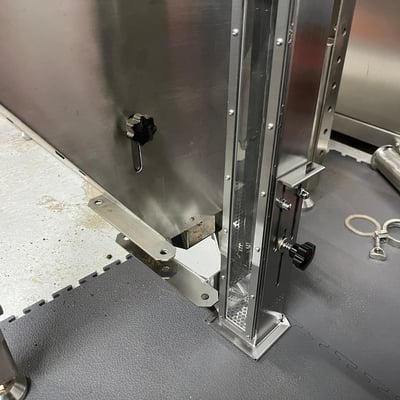
If your lift is connected, start by undoing the trip clamp that connects to your lift so the destoner is fully free from the lift assembly before you begin removing any screws.
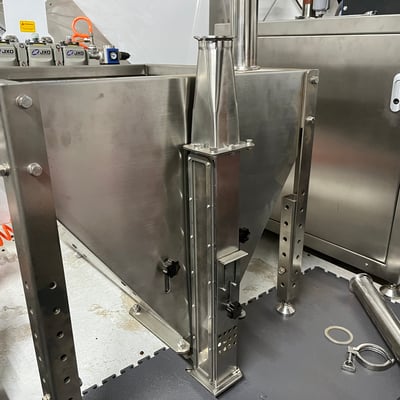
Removing Destoner Assembly
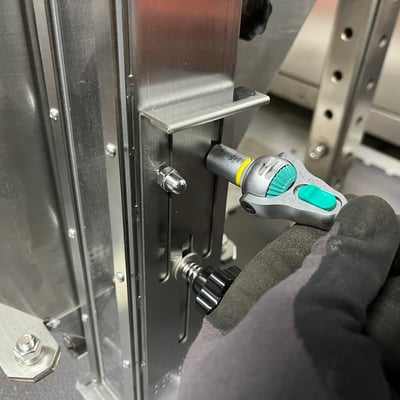
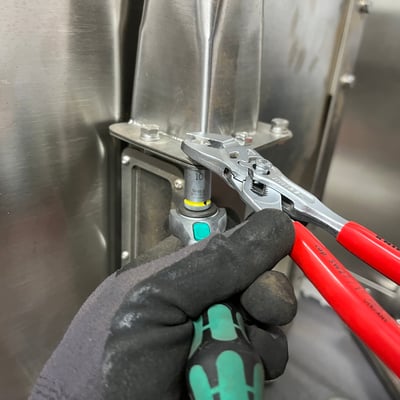
Using a 10mm wrench and socket, remove the 5 screws on the top panel of the destoner. Carefully keep the screws, including their washers, and set them aside in a safe place for reinstallation later.
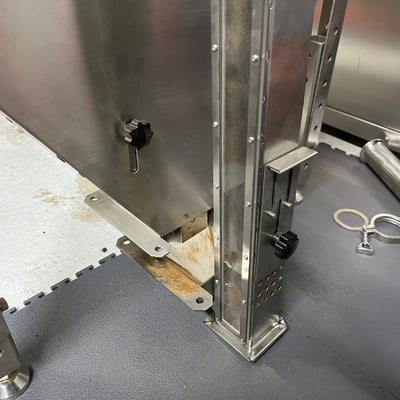
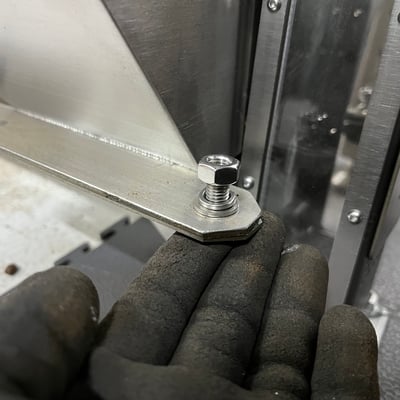
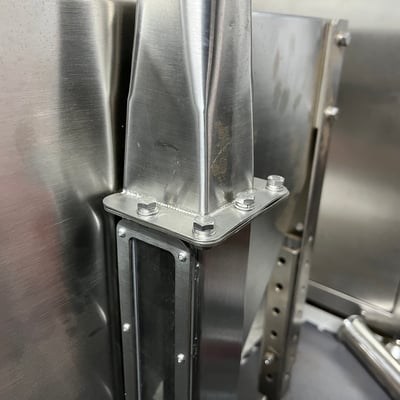
On the bottom of the destoner, there are 4 screws securing it to the frame. Using a wrench and a 13mm socket, carefully remove all 4 screws, making sure to support the destoner as you work so it doesn’t shift or drop. Set the screws and any washers aside in a safe place for reinstallation with the new destoner.
Installing the new Destoner Assembly
Carefully position your new destoner on the frame, aligning the mounting holes. Insert the screws with the washer and spring washer on each screw, then tighten them evenly and securely so the destoner is firmly fixed in place.
On the top of the destoner, re-insert the 5 screws along with their washers in their original positions, then use your 10mm wrench and socket to tighten them evenly and securely so the top panel is firmly attached.
Undo the bolts securing the bypass gate in place so it can move freely, then recalibrate your destoner to ensure proper destoning before returning it to regular use.